Table of Contents

The Complete Window AC Repair Framework
Mastering window air conditioner repair demands understanding both mechanical systems and electrical fundamentals. These units contain five critical subsystems—refrigeration circuit, airflow components, electrical controls, drainage system, and cabinet/structural elements—each requiring specific diagnostic approaches. Professional technicians follow a standardized troubleshooting sequence: verify power supply, inspect filters and coils, check thermostat operation, test capacitors and relays, evaluate compressor function, and then assess refrigerant charge.
What most DIYers miss in window air conditioner repair is the interconnected nature of these systems—a dirty evaporator coil can cause freezing that mimics low refrigerant while a failing capacitor might present as inadequate cooling. Voltage testing forms the foundation of all repairs; always confirm 115- 230V (depending on the model) at the unit’s terminals before proceeding.
Current measurements provide even more insight—a compressor drawing 30% over its rated amps likely suffers from mechanical wear or refrigerant issues. The golden rule of window air conditioner repair: 80% of problems stem from just three causes—dirty coils, failed capacitors, or refrigerant leaks.
Deep Dive into Electrical Component Repair
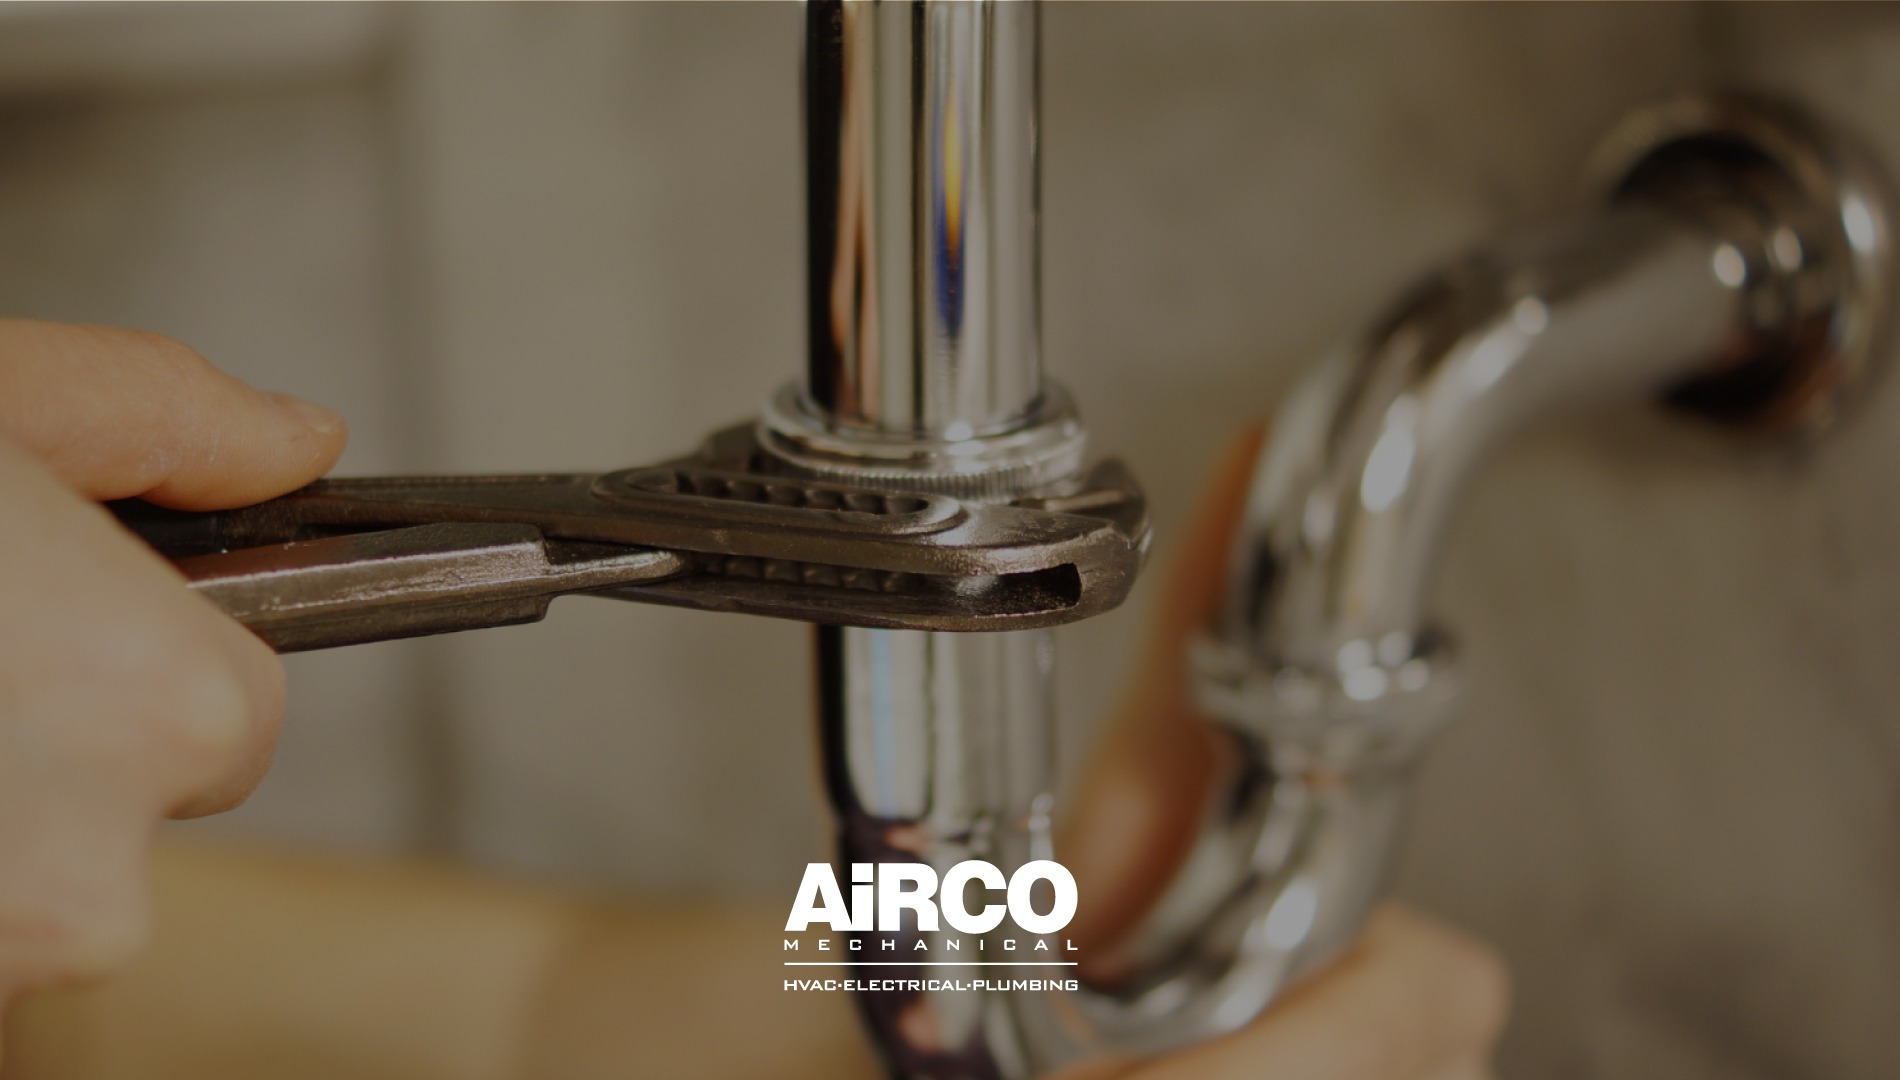
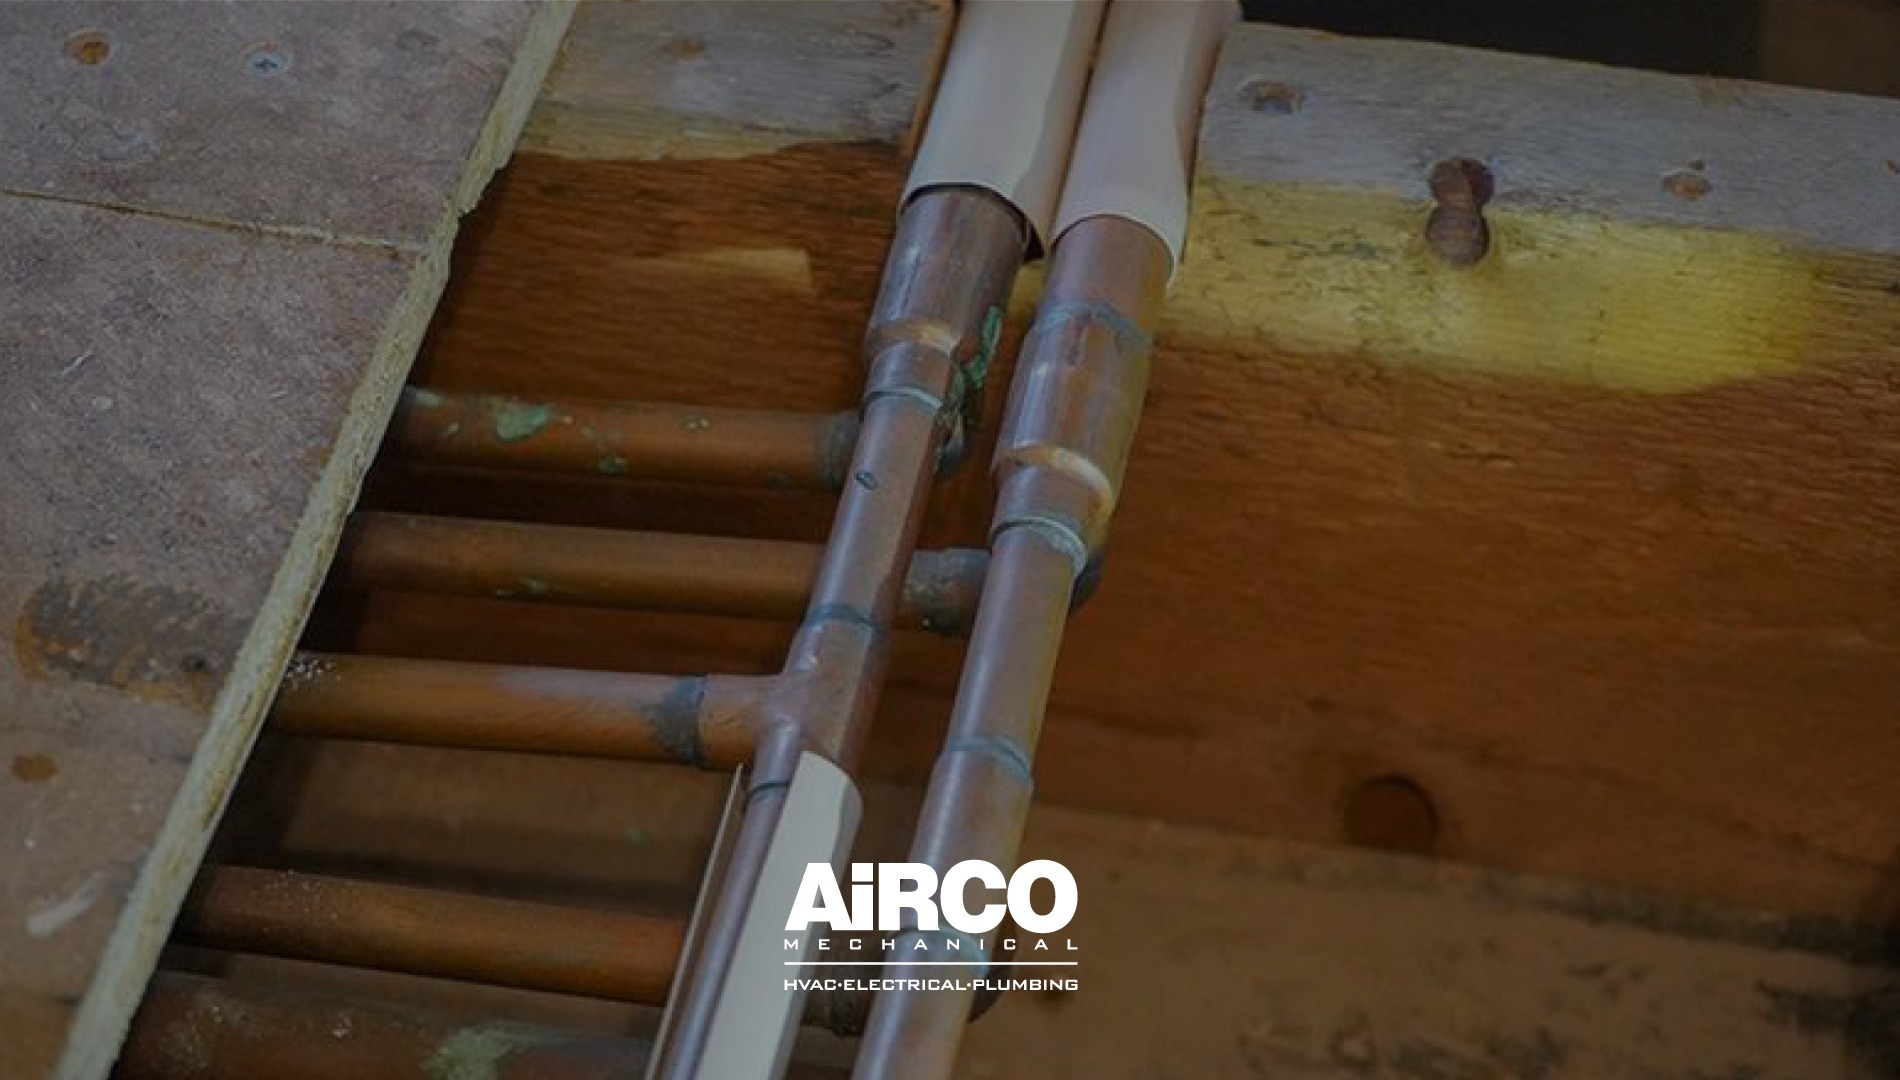
The electrical system constitutes the most hazardous yet most repairable aspect of window air conditioner repair. Start with the capacitor—this $15 component causes over 40% of service calls. Use a multimeter set to capacitance mode (or ohms for simpler tests) to check for values within 10% of the rating printed on the capacitor’s side. Relay contacts often burn out from arcing; inspect for pitting or discoloration. Control boards require careful testing—look for swollen capacitors, burnt traces, or damaged resistors. Surprisingly, many “dead” units simply need new wiring harnesses where rodents have chewed through insulation.
When dealing with motors during window air conditioner repair, measure winding resistance against factory specs—a shorted winding reads near zero ohms, while an open winding shows infinite resistance. Always disconnect power and discharge capacitors before handling any electrical components. For units with electronic displays, check voltage regulators and fuses before condemning the entire board.
Refrigeration System Troubleshooting
The sealed refrigeration system presents unique challenges in window air conditioner repair. While EPA regulations prohibit DIY refrigerant handling, you can diagnose many issues without opening the system. Frost patterns reveal valuable clues; even frosting at the evaporator inlet indicates low charge, while frost only at the outlet suggests airflow problems. Oil stains on refrigerant lines typically confirm leaks. Use temperature probes to compare evaporator and condenser coil temps. Properly functioning systems maintain a 15-20°F difference between incoming and outgoing air.
Compressor testing involves checking terminals for ground faults (continuity to casing indicates failure) and measuring resistance between windings. If the compressor hums but won’t start, the start capacitor or relay is likely faulty. For units with reversing valves (heat pump models), solenoid coil resistance should measure 20-50 ohms. Never attempt brazing repairs without nitrogen purging—oxide contamination will destroy the compressor.
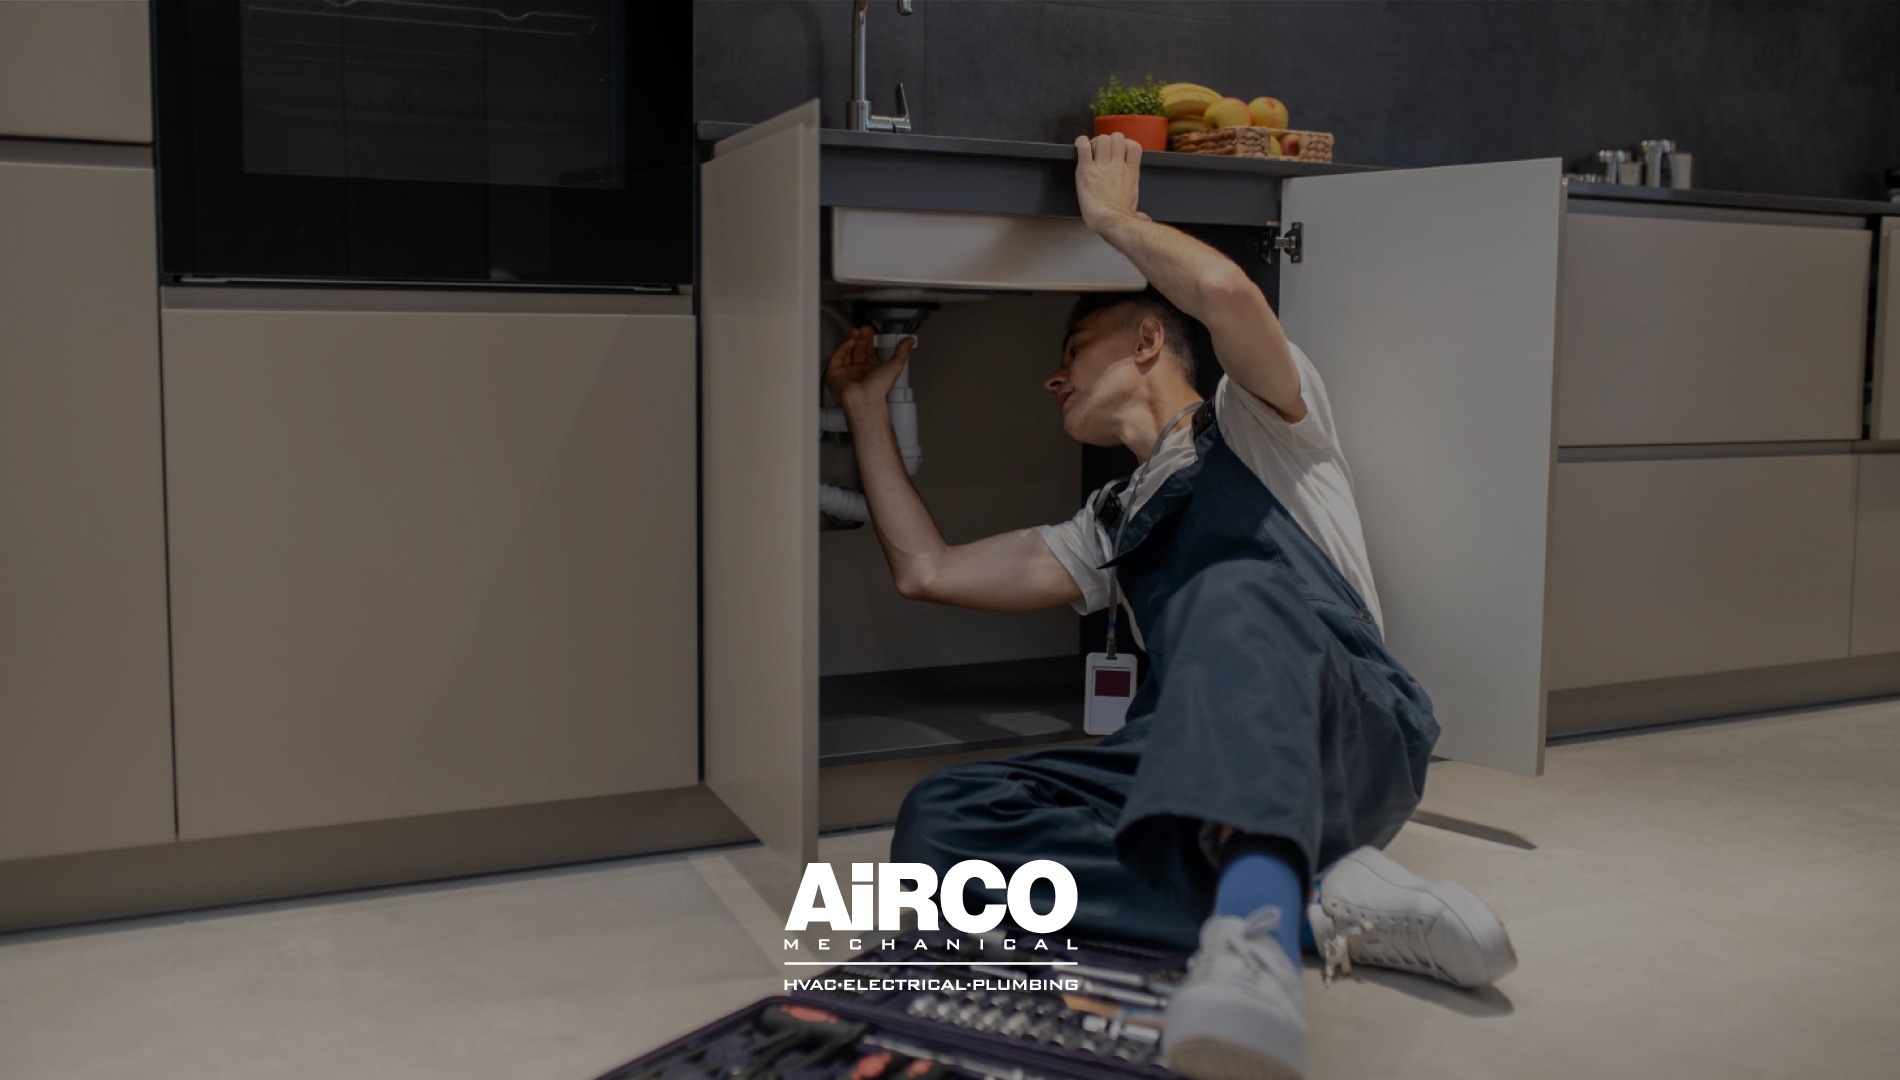
Structural and Drainage Repairs
Often overlooked in window air conditioner repair, the physical housing and drainage systems cause numerous operational issues. Sagging frames distort cabinet seams, creating air leaks that reduce efficiency by 15-20%. Reinforce weak points with aluminum angle stock and machine screws. Drain pans develop cracks from vibration. Clean them thoroughly and seal them with a two-part epoxy rated for plastic. Condensate channels clog with algae; flush with hot water and bleach solution.
Window brackets require periodic tightening as loose units strain compressors through excessive vibration. For noisy operation, isolate vibration points with neoprene pads and ensure at least 2″ clearance around the entire unit for proper airflow. Rusted chassis sections need immediate attention: sand to bare metal, treat with phosphoric acid converter, then repaint with appliance epoxy.
Advanced Performance Optimization
Beyond basic window air conditioner repair, several professional techniques maximize cooling performance:
Airflow Enhancement
Upgrading to high-static-pressure fan blades (when compatible) can increase airflow by 25%. Always match CFM ratings to the evaporator coil’s design specifications.
Thermal Insulation
Applying foil-faced foam insulation to exposed refrigerant lines prevents energy loss. Ensure insulation remains dry to avoid corrosion.
Control Modifications
Adding a hard-start kit (start capacitor and potential relay) helps compressors struggling in high-heat conditions. This $25 upgrade can extend compressor life by years.
Condenser Coil Upgrades
Aftermarket microchannel condenser coils (for compatible models) improve heat transfer efficiency by 15-20% in dirty environments.
When to Consider Replacement
Despite expert window air conditioner repair, some scenarios justify replacement:
- Units using discontinued R-22 refrigerant (repair costs exceed $500)
- Compressor failures in systems over 7 years old
- Repeated electrical failures indicating deteriorating wiring
- Cabinet damage compromising structural integrity
- Efficiency ratings below 8 EER (new models reach 12+ EER)
FAQs
Q1. What tools are essential for professional window air conditioner repair?
Multimeter, manifold gauge set (for licensed techs), fin comb, vacuum pump, and torque wrenches.
Q2. How dangerous are capacitor discharges during repair?
Large run capacitors can store lethal 400V charges—always discharge with a 20k ohm resistor.
Q3. Can window AC refrigerant be topped off like car AC systems?
Never sealed systems require precise charging by weight according to manufacturer specs.
Q4. What causes water to blow from my AC vents?
Typically, it’s a clogged drain pan or incorrect unit tilt (should slope 1/4″ outward).
Q5. Why does my repaired unit trip the GFCI outlet?
Moisture intrusion or compromised wiring insulation creates ground faults—requires thorough drying and testing.
Do you have questions, or are you ready to start your next project? Explore our services at AiRCO Mechanical!