Smart thermostats have quickly moved from a “modern luxury” to an essential home upgrade. As homes become more efficient and connected, proper smart thermostat installation plays a major role in optimizing comfort, reducing energy costs, and improving heating and cooling system performance. But installing one isn’t just about replacing your old thermostat — it’s about aligning wiring, HVAC compatibility, Wi-Fi stability, sensor placement, and automation rules for maximum efficiency.
This guide explains all the essential tips, pre-installation checks, wiring considerations, placement guidelines, calibration advice, automation settings, and post-installation optimization to ensure your smart thermostat performs exactly the way it was designed to.
1. Check HVAC System Compatibility Before Installation
Before purchasing or installing a smart thermostat, confirm whether your current HVAC system supports smart controls. Many homes use conventional heating/cooling systems, but some older units or specialized systems may require adapters.
Common HVAC Types and Compatibility
| HVAC System Type | Compatible with Smart Thermostat | Notes |
| Conventional Furnace + AC | ✔ Yes | Works with most major smart thermostat brands |
| Heat Pumps | ✔ Yes (with correct mode wiring) | Some require advanced wiring configurations |
| Multi-Zone HVAC | ✔ Partial | May require separate thermostats per zone |
| High-Voltage (120V/240V) | ✘ No | Needs a smart line-voltage thermostat |
| Radiant Floor Heating | ✔ Limited | Only compatible with select models |
If you’re unsure, Airco Mechanical’s Smart Home Setup & Installation Service can confirm compatibility and install everything professionally.
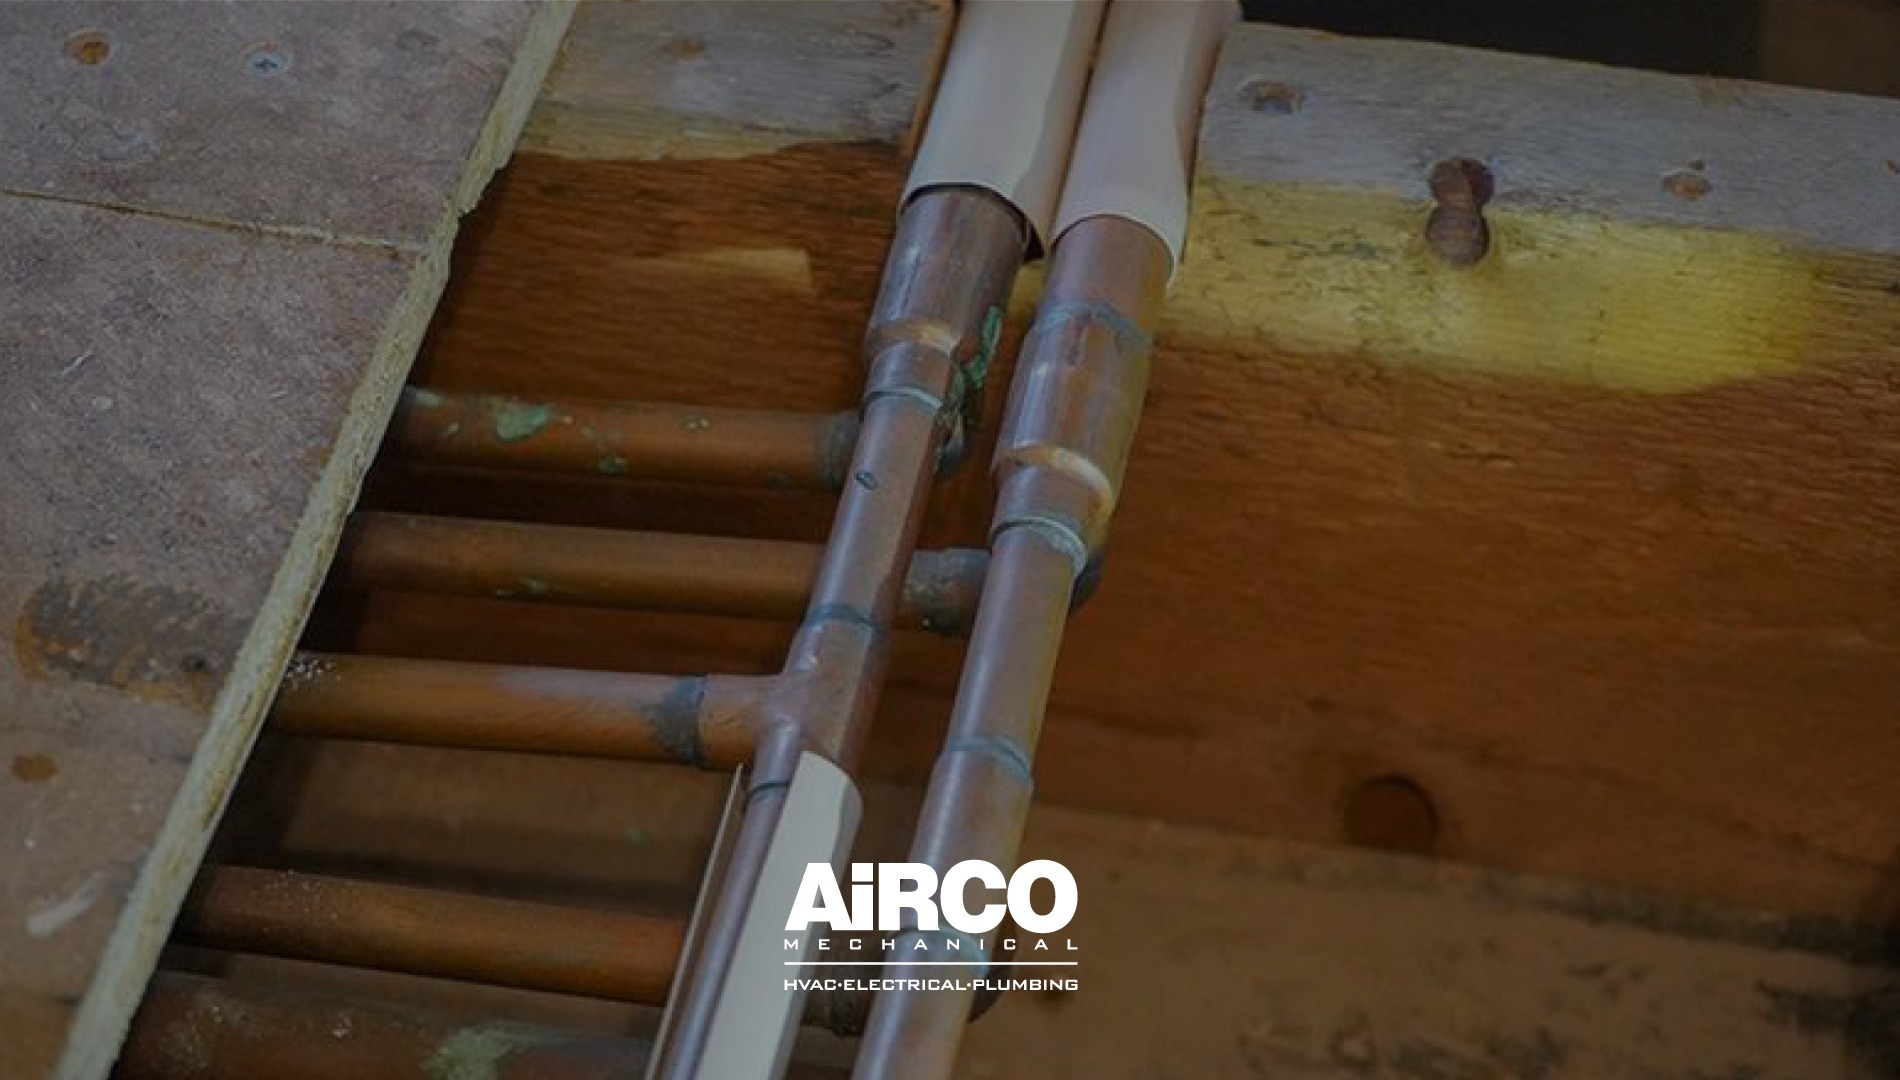
Check the Wiring Before Removing the Old Thermostat
Smart thermostats require continuous low-voltage power. The C-wire (common wire) is especially important because it provides uninterrupted power for Wi-Fi, sensors, and internal processors.
✔ If your old thermostat has a C-wire:
You’re ready for installation.
✘ If your thermostat does NOT have a C-wire:
You have options:
- Install a C-wire adapter (included with many thermostat kits)
- Run a new wire from the HVAC control board
- Use a thermostat that works with power-stealing technology
Pro Tip: NEVER guess wiring colors. HVAC systems often use nonstandard color codes, so always verify the terminal labels, not just the wire colors.
Assess Wi-Fi Strength and Router Distance
Smart thermostats rely on consistent internet connectivity for:
- App-based control
- Heating/cooling automation
- Energy usage tracking
- Firmware updates
- Voice assistant integration
Wi-Fi Guidelines for Best Performance
- Place the router within 30–40 feet of the thermostat
- Use a 2.4 GHz network (preferred for longer range)
- Avoid metal objects, mirrors, and appliances near the thermostat
- Add a mesh Wi-Fi node if you have weak signals
A strong, stable connection ensures fast learning response and accurate scheduling.
Placement Rules That Ensure Accurate Temperature Readings
Where you install the thermostat directly affects temperature accuracy. A poorly placed thermostat can cause your HVAC system to run inefficiently.
Place Your Smart Thermostat:
- On an interior wall
- At eye level (52–60 inches)
- Away from natural heat sources
- At the center of your living space
Avoid These Areas:
- Near windows or exterior doors (drafts)
- Close to vents (false readings)
- Kitchens (heat distortion)
- Direct sunlight
Good placement helps your thermostat measure actual living temperatures—not distorted hot or cold zones.
Step-by-Step Installation Guide
Once you confirm HVAC compatibility, wiring, and placement, you can move into the installation phase. This should be done carefully to avoid wiring mistakes or thermostat damage.
1. Turn Off Power to Your HVAC System
Always turn off the system at the breaker panel before detaching your old thermostat.
This prevents electrical shorts and protects the thermostat circuitry.
2. Remove the Old Thermostat Carefully
- Take a picture of the wiring before disconnecting it.
- Label each wire based on the terminal it connects to (R, Y, W, C, O/B, G).
- Gently pull wires forward so they don’t fall back into the wall opening.
3. Install the Smart Thermostat Mounting Plate
- Use the provided level tool to ensure the plate is straight.
- Secure it with screws and wall anchors if necessary.
4. Connect the Wires to the Correct Terminals
Smart thermostats usually have self-clamping terminals. Insert wires firmly until they click.
Common Wiring Table
| Terminal | Function | Wire Color (Typical) |
| R | Power | Red |
| C | Common | Blue/Black |
| Y | Cooling | Yellow |
| W | Heating | White |
| G | Fan | Green |
| O/B | Heat Pump Reversing Valve | Orange/Blue |
Note: Confirm terminal letters—not wire colors. Wire colors are not standardized in HVAC systems.
5. Attach the Thermostat to the Base & Restore Power
Once clicked into place, restore HVAC power from the breaker.
6. Follow On-Screen App Instructions
Your thermostat will guide you through:
- Wi-Fi setup
- Room identification
- Thermostat preferences
- System type selection
- Firmware updates
Set Up External Sensors for More Accurate Readings
Smart thermostats can use wireless temperature or occupancy sensors to stabilize heating/cooling in multi-room homes.
Placement Guidelines for External Sensors
- Place sensors in rooms you use the most
- Keep sensors away from lamps, electronics, or heat sources
- Use sensors to eliminate hot/cold spots throughout the house
Benefits of Sensor Integration
- More precise temperature control
- Balanced heating and cooling
- Better comfort in frequently used rooms
- Improved energy savings
Sensors help the thermostat “learn” how heat and air move across your home.
Calibrate the Thermostat for Accurate Temperature Readings
Even smart thermostats sometimes require calibration to avoid temperature offsets.
Calibration Tips
- Compare thermostat reading to a reliable thermometer
- Adjust the offset (usually ±1–2°F) in the app
- Recheck after 24 hours
- Keep vents clean to avoid airflow distortion
- Avoid drafts around the wall opening
Proper calibration ensures your HVAC cycles efficiently and maintains true indoor comfort.
Connect the Thermostat to Your Ecosystem of Smart Devices
Smart thermostats work best when connected to your home’s automation network.
Common Integrations
- Amazon Alexa
- Google Home
- Apple HomeKit
- Smart vents
- Smart humidifiers
- Zoning systems
- Smart lighting routines
You Can Automate
- Turn down heating when doors are left open
- Increase cooling when occupancy sensors detect movement
- Lower temperatures automatically when you leave the house
- Create vacation or weekend modes
This transforms your thermostat from a simple controller into a central automation hub.
Enable Advanced Features for Maximum Efficiency
Features to Turn On
- Adaptive learning
- Geo-fencing mode
- Energy usage reports
- Weather-responsive scheduling
- Early-start heating/cooling
- Filter-change reminders
These features ensure your HVAC runs efficiently and avoids unnecessary wear.
Common Mistakes to Avoid During Installation
Mistakes during thermostat installation often lead to system failures or comfort issues.
Avoid:
- Incorrect wiring (especially O/B for heat pumps)
- Installing on exterior walls
- Using the wrong system type during setup
- Leaving the wall opening unsealed (creates drafts)
- Weak Wi-Fi signals
- Ignoring C-wire requirements
- Skipping calibration
Most Critical:
Incorrect wiring can short the control board of your HVAC system — an expensive repair.
Use Automation Routines to Maximize Comfort and Efficiency
After installation, automation routines will help your smart thermostat work as a proactive energy manager rather than a simple temperature controller.
Recommended Automation Routines
- Away Mode Automation
The thermostat automatically lowers heating/cooling when you leave home using geofencing. - Sleep Scheduling
Create cooler nighttime temperatures for better sleep and reduced HVAC runtime. - Pre-Heat or Pre-Cool Mode
Your system adjusts temperature before you arrive home. - Humidity Integration
Connect your thermostat to humidifiers or dehumidifiers to balance indoor comfort. - Weather-Adaptive Routines
On extremely hot/cold days, the thermostat starts earlier to prevent energy spikes.
These routines help establish stable temperature behavior, which reduces HVAC strain and stabilizes indoor comfort over time.
Maintenance Tips to Keep Your Smart Thermostat Running Smoothly
Even though smart thermostats require minimal maintenance, a few steps ensure they operate at peak performance.
1. Keep the Sensors Clean
Dust buildup can cause inaccurate temperature readings. Wipe the thermostat and sensors gently once a month.
2. Update Firmware Regularly
Smart thermostat updates contain:
- energy optimization improvements
- security patches
- new automation features
Most thermostats update automatically, but verify through the app monthly.
3. Check Wi-Fi Stability
If your router moves or settings change, reconnect the thermostat and sensors to prevent automation failures.
4. Monitor HVAC Performance
Your thermostat logs:
- cycle durations
- runtime history
- temperature patterns
- heating vs cooling usage
If you see unusual behavior (short cycles, long delays, inconsistent temperatures), it may indicate HVAC issues rather than thermostat problems.
5. Replace Air Filters on Time
Smart thermostats notify you when filters are dirty, reducing strain on HVAC blowers and improving temperature accuracy.
For filter standards, see the U.S. EPA guidelines on HVAC air quality
Table: Installation Checklist for Homeowners
| Task | Required? | Why It Matters |
| Verify HVAC compatibility | ✔ | Prevents system damage |
| Check for C-wire | ✔ | Provides stable power |
| Ensure strong Wi-Fi | ✔ | Enables remote control + updates |
| Place thermostat correctly | ✔ | Accurate readings |
| Calibrate temperature | Optional | Improves comfort accuracy |
| Connect smart ecosystem | Optional | Expand automation features |
| Enable learning features | Optional | Saves long-term energy |
Final Conclusion
Smart thermostats offer advanced comfort, precision, and energy savings—but these benefits depend heavily on a proper installation process. From verifying wiring to placing the unit correctly and integrating sensors, each step ensures your thermostat learns more effectively and manages temperature more accurately.
If you want a seamless setup, Airco Mechanical specializes in full smart home integration, wiring, and device installation. Our experts ensure your thermostat is configured correctly, connected to your smart ecosystem, and optimized for your home’s heating and cooling patterns.
To learn what a smart thermostat actually does for your comfort and energy efficiency, read our smart thermostat benefits:
Q1: Do I need a C-wire for smart thermostat installation?
Most smart thermostats need a C-wire for constant power. If you don’t have one, use an adapter, run a new wire, or choose a compatible model.
Q2: Where should I install my smart thermostat?
Place it on an interior wall, away from sunlight, vents, doors, or drafts, about 52–60 inches from the floor.
Q3: Can I install a smart thermostat myself?
DIY is possible, but professional installation ensures correct wiring, HVAC compatibility, and proper calibration.
Q4: How do I connect it to other smart home devices?
Most connect to Alexa, Google Home, Apple HomeKit, or smart vents, enabling automated schedules, geofencing, and energy-saving routines.
Q5: How do I maintain my smart thermostat?
Clean sensors, replace filters, update firmware, and check Wi-Fi regularly to keep it accurate and efficient.
Do you have questions, or are you ready to start your next project? Explore our services at AiRCO Mechanical