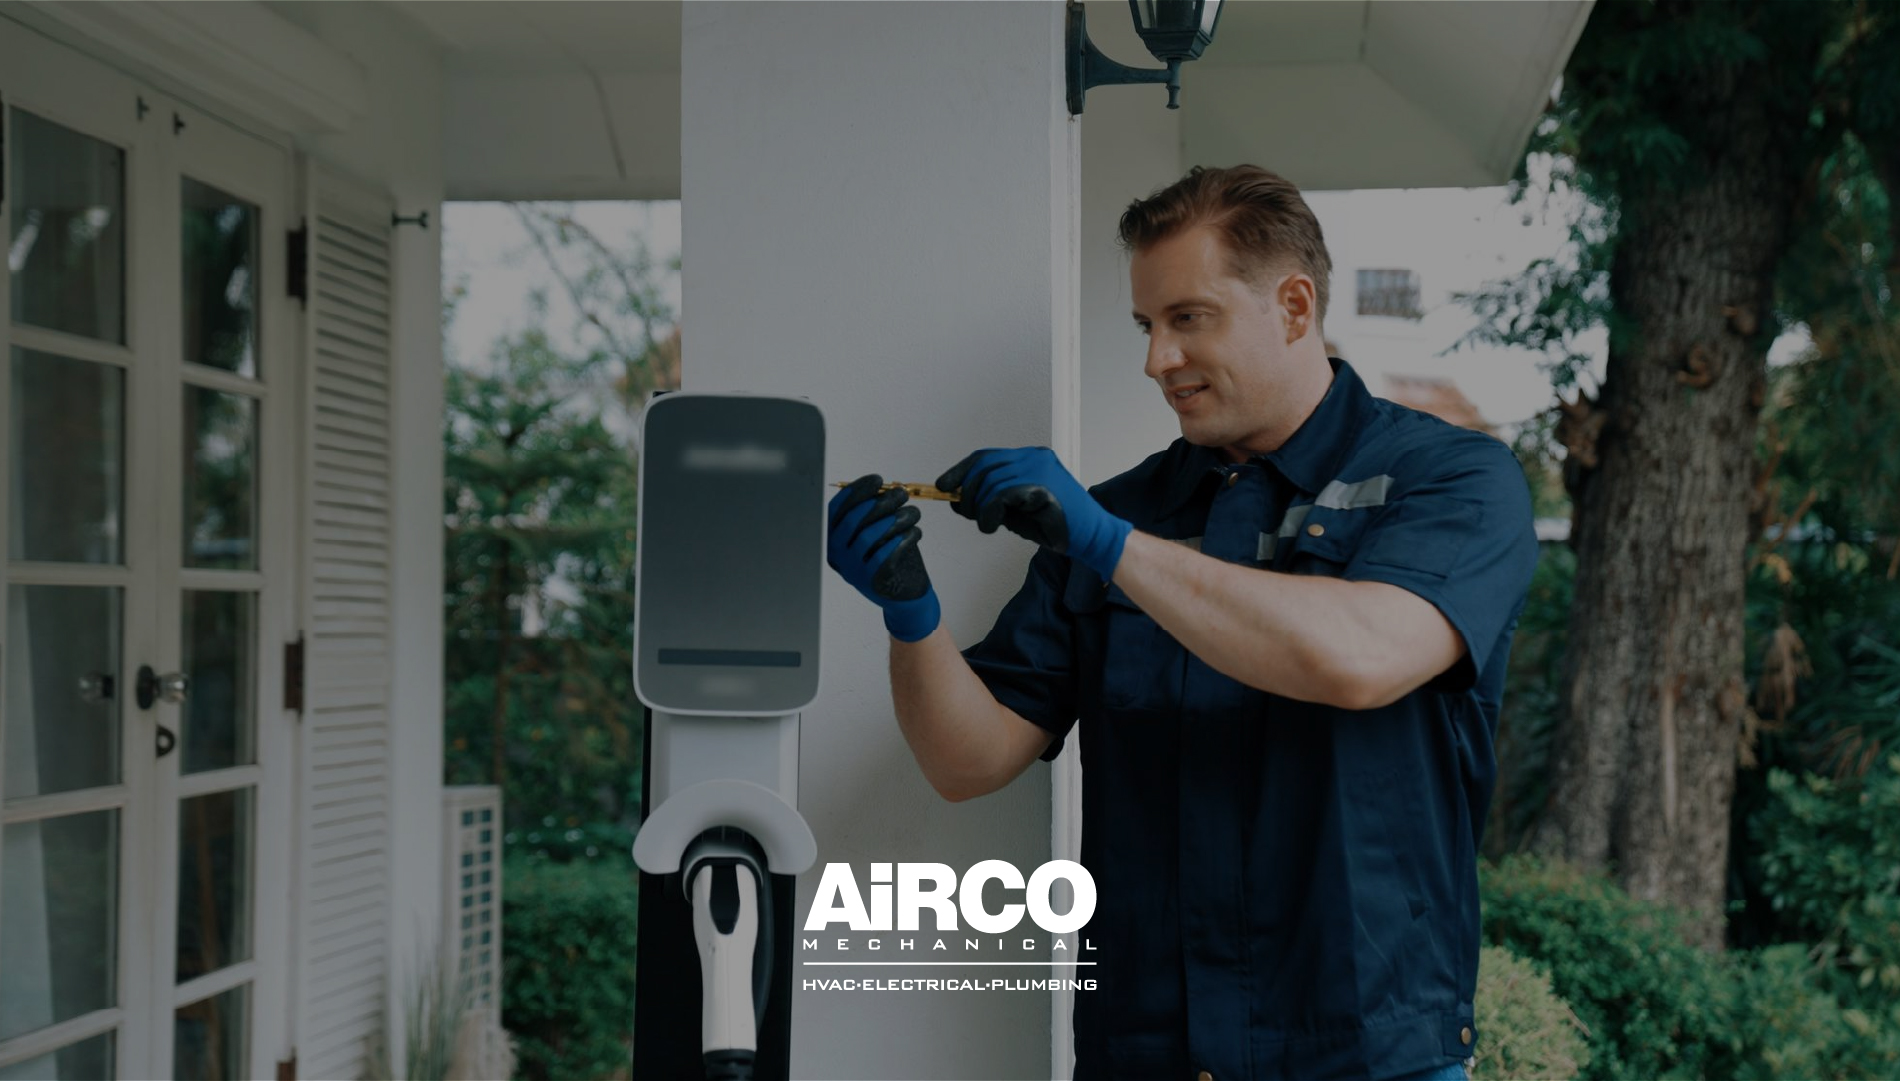
An EV charger installation guide for homeowners helps you understand charger types, electrical panel requirements, installation steps, safety rules, cost factors, and long-term maintenance before adding a home charging station. Most homeowners choose Level 2 charging because it is much faster than a standard outlet and better suited for daily electric vehicle use. For safe residential charging, Airco Mechanical provides professional EV charger installation support, including electrical evaluation, dedicated circuit planning, charger setup, and safety checks.
Installing an electric vehicle charger is not just about mounting a device on a wall. It requires the right electrical capacity, correct wiring, safe breaker sizing, proper charger placement, weather protection, code compliance, and professional testing. If your home needs broader electrical upgrades before installation, Airco Mechanical can help inspect your system and recommend the safest path forward.
The U.S. Department of Energy explains that EV owners can use Level 1 charging through a standard household outlet or install Level 2 charging equipment at home for faster charging. Level 2 charging commonly uses 240 volts and is a practical option for daily home charging needs.
What Home EV Charger Installation Means
Home EV charger installation is the process of adding a dedicated charging system for an electric vehicle at a residential property. This usually includes checking the electrical panel, choosing the correct charger, installing a dedicated circuit, mounting the charger, connecting wiring, testing performance, and confirming safe operation.
A proper installation should answer these questions:
- Can the electrical panel handle the charger load?
- Should the home use Level 1 or Level 2 charging?
- Where should the charger be installed?
- Is a dedicated circuit required?
- Does the installation need a permit?
- Should the charger be hardwired or plug-in?
- Is outdoor weather protection needed?
- Does the home need surge protection?
- Will future EVs need more charging capacity?
The goal is not only convenience. The goal is safe, reliable, and efficient home charging.
Main Entities in EV Charger Installation
A strong EV charging setup depends on multiple connected parts. If one part is wrong, the charger may trip breakers, charge slowly, overheat, or fail inspection.
| Entity | Role in Installation | Why It Matters |
|---|---|---|
| Electric vehicle | Determines charging needs | Battery size affects charging time |
| Charger or EVSE | Supplies power to the vehicle | Must match vehicle and home capacity |
| Electrical panel | Distributes power | Must support the added load |
| Dedicated circuit | Powers the charger safely | Prevents overload on shared circuits |
| Breaker | Protects the circuit | Must be sized correctly |
| Wiring | Carries current to the charger | Must match amperage and distance |
| Mounting location | Places charger near vehicle | Affects convenience and cost |
| Connector type | Connects charger to vehicle | Must fit vehicle requirements |
| GFCI protection | Improves electrical safety | May be required by code |
| Surge protection | Protects charger and electronics | Helps reduce voltage spike damage |
This is why EV charger installation should be treated as an electrical system upgrade, not a simple appliance setup.
EV Charger Installation Guide for Homeowners: Charger Types Explained
This EV charger installation guide for homeowners starts with the most important decision: charger type. Most residential EV charging falls into Level 1 or Level 2.
Level 1 Charging
Level 1 charging uses a standard 120-volt household outlet. It is usually included with the vehicle and does not always require new equipment.
Level 1 may work if:
- You drive short distances daily
- You have a plug-in hybrid
- You can charge overnight
- You do not need fast charging
- Your outlet is in good condition
- You want a basic backup option
The downside is speed. Level 1 charging can be too slow for many full electric vehicle owners.
Level 2 Charging
Level 2 charging uses a 240-volt circuit, similar to the type of power used by large appliances. It charges much faster than Level 1 and is the preferred option for many homeowners.
Level 2 may be better if:
- You drive daily
- You own a full battery electric vehicle
- You want overnight charging
- You have multiple drivers
- You need faster recovery after long trips
- You want a more permanent home charging setup
Level 1 vs Level 2 Charging
| Feature | Level 1 Charger | Level 2 Charger |
|---|---|---|
| Voltage | 120 volts | 240 volts |
| Charging speed | Slower | Faster |
| Best for | Light daily driving or backup | Daily EV charging |
| Installation complexity | Lower | Higher |
| Dedicated circuit | Recommended in many cases | Usually required |
| Cost | Lower upfront | Higher upfront |
| Long-term convenience | Limited | Stronger |
For most homeowners who rely on an EV every day, Level 2 charging is usually the better long-term choice.
Why Electrical Panel Capacity Matters
The electrical panel is one of the most important parts of EV charger installation. A charger adds a major electrical load to the home, so the panel must have enough available capacity.
A licensed electrician should review:
- Main panel amperage
- Available breaker space
- Existing electrical load
- HVAC load
- Kitchen appliance load
- Laundry equipment
- Pool or spa equipment
- Home office equipment
- Smart home devices
- Future electrical upgrades
If the panel is already near capacity, the home may need a panel upgrade, load management device, or different charger amperage.
Signs Your Panel May Need Attention
- Breakers trip often
- Lights dim when appliances start
- Panel is full
- Home has an older fuse box
- Breakers feel warm
- You plan to add more major appliances
- You are installing a high-amperage Level 2 charger
- You have multiple EVs
- The home has old wiring
A charger should never be added to an overloaded electrical system.
Choosing the Right Charger Amperage
EV chargers come in different amperage levels. Higher amperage can charge faster, but only if the home electrical system and vehicle can support it.
| Charger Output | Common Use | Important Note |
|---|---|---|
| 16 amp | Light charging needs | Lower electrical demand |
| 24 amp | Moderate daily use | May suit smaller batteries |
| 32 amp | Common home Level 2 option | Good balance for many homes |
| 40 amp | Faster home charging | Needs proper circuit sizing |
| 48 amp | High-output charging | Usually hardwired |
| 60 amp and above | Larger capacity needs | Requires careful load planning |
The best amperage depends on your vehicle, driving habits, electrical panel, and future plans.
Plug-In vs Hardwired EV Chargers
Another key choice is whether to install a plug-in charger or a hardwired charger.
Plug-In Charger
A plug-in charger connects to a 240-volt outlet, often a NEMA-style outlet.
Benefits:
- Easier to remove or replace
- Can be portable in some cases
- Useful for renters with permission
- Convenient if outlet is already installed correctly
Limitations:
- Outlet must be correctly rated
- May require GFCI protection
- Outdoor outlet needs weather protection
- Outlet wear can become an issue over time
Hardwired Charger
A hardwired charger is directly connected to the electrical circuit.
Benefits:
- Cleaner permanent installation
- Often preferred for outdoor locations
- Can support higher amperage chargers
- Fewer outlet wear concerns
- Strong long-term option
Limitations:
- Less portable
- Requires professional installation
- May cost more to move later
Comparison Table
| Factor | Plug-In Charger | Hardwired Charger |
|---|---|---|
| Flexibility | Higher | Lower |
| Outdoor durability | Good with proper setup | Often stronger |
| Higher amperage support | Limited by outlet and setup | Often better |
| Appearance | Outlet and cord visible | Cleaner installation |
| Replacement ease | Easier | Requires electrician |
| Best for | Flexibility and moderate charging | Permanent high-reliability setup |
A professional installer can recommend the better option for your garage, driveway, or outdoor parking area.
Best Location for Home EV Charger Installation
Charger placement affects convenience, cost, safety, and cable management. The ideal location is usually close to both the parking space and electrical panel.
Good Charger Locations
- Garage wall near the vehicle charge port
- Carport wall
- Driveway side wall
- Exterior wall close to parking area
- Dedicated pedestal near parking area
- Covered outdoor location with weather-rated equipment
Placement Factors
| Placement Factor | Why It Matters |
|---|---|
| Distance from panel | Longer wiring runs increase cost |
| Vehicle charge port location | Cable should reach comfortably |
| Indoor vs outdoor | Outdoor units need weather protection |
| Cable storage | Reduces trip hazards |
| Wall strength | Charger must mount securely |
| Future vehicle position | Charger should work for future EVs |
| Wi-Fi signal | Smart chargers may need connectivity |
| Drainage and exposure | Reduces water-related issues |
A charger should be easy to access but installed in a way that protects the cord, outlet, and electrical components.
Step-by-Step EV Charger Installation Process
A safe installation follows a structured process. This is where professional planning matters.
Step 1: Review Charging Needs
The electrician or installer reviews your vehicle type, daily mileage, charging speed goals, parking location, and future EV plans.
Step 2: Inspect the Electrical Panel
The panel is checked for available capacity, breaker space, condition, age, and compatibility with the charger load.
Step 3: Choose Charger Type
The homeowner chooses between Level 1, Level 2, plug-in, hardwired, indoor, outdoor, smart, or basic charger options.
Step 4: Plan Circuit Requirements
The installer determines circuit size, breaker size, wiring type, routing, GFCI needs, and installation location.
Step 5: Check Permit Requirements
Some areas require permits and inspections for Level 2 charger installation. A professional electrician can guide this process.
Step 6: Install Wiring and Charger
The dedicated circuit is installed, wiring is routed safely, and the charger is mounted according to manufacturer instructions.
Step 7: Test the Charger
The electrician tests voltage, connections, breaker performance, charger startup, grounding, and safe operation.
Step 8: Review Charger Use
The installer explains basic operation, charging schedules, app setup, cable storage, and safety tips.
This process helps protect your home, vehicle, and electrical system.
Cost Factors for EV Charger Installation
The cost of EV charger installation depends on the home’s electrical condition and the complexity of the project.
Main Cost Factors
| Cost Factor | Why It Affects Price |
|---|---|
| Charger type | Level 2 chargers cost more than basic Level 1 use |
| Panel capacity | Panel upgrades increase project cost |
| Wiring distance | Longer runs require more labor and material |
| Indoor or outdoor setup | Outdoor installations need weather-rated protection |
| Plug-in or hardwired | Installation method affects materials |
| Permit requirements | Local rules may add cost |
| Wall or pedestal mounting | Pedestals may require more work |
| Smart charger setup | App-connected chargers may need Wi-Fi planning |
| Circuit amperage | Higher amperage may require heavier wiring |
| Existing wiring condition | Older wiring may need correction |
A simple installation near the panel is usually less expensive than an outdoor charger far from the electrical panel.
Smart EV Chargers vs Basic Chargers
Smart chargers include features that can improve control, scheduling, and monitoring. Basic chargers focus mainly on charging the vehicle.
| Feature | Basic Charger | Smart Charger |
|---|---|---|
| Charging function | Yes | Yes |
| App control | Usually no | Yes |
| Scheduling | Limited | Strong |
| Energy tracking | Limited | Often included |
| Wi-Fi required | No | Usually yes |
| Notifications | No | Yes |
| Cost | Lower | Higher |
| Best for | Simple charging | Control and energy management |
Smart chargers are useful for homeowners who want to charge during off-peak hours, track energy use, or manage charging remotely.
Safety Requirements for EV Charger Installation
Electrical safety is the most important part of EV charger installation. A charger draws power for long periods, often overnight, so the circuit must be installed correctly.
Key Safety Requirements
- Dedicated circuit
- Correct breaker size
- Correct wire size
- Proper grounding
- Secure mounting
- Weather-rated outdoor equipment
- GFCI protection where required
- Code-compliant installation
- Manufacturer-approved setup
- Proper cable management
- Panel capacity review
- Final testing
Avoid using extension cords, damaged outlets, loose plugs, or shared circuits for EV charging.
Common Installation Mistakes to Avoid
Mistakes during charger installation can cause breaker trips, overheating, slow charging, nuisance shutdowns, or unsafe conditions.
Avoid These Problems
- Installing charger without panel load review
- Using the wrong breaker size
- Using undersized wiring
- Placing charger too far from vehicle
- Ignoring outdoor weather protection
- Installing a plug-in charger on a weak outlet
- Using extension cords
- Skipping permit requirements
- Choosing charger amperage the panel cannot support
- Forgetting future EV charging needs
- Ignoring surge protection
- Not testing the charger after installation
This EV charger installation guide for homeowners is meant to help you plan ahead before these mistakes happen.
How EV Charger Installation Connects With Whole-Home Electrical Planning
A charger affects the broader electrical system. It may influence panel capacity, surge protection, smart home setup, and future appliance upgrades.
Related Electrical Considerations
- Electrical panel upgrade
- Dedicated circuits
- Whole-home surge protection
- Smart charging schedules
- Outdoor-rated equipment
- Garage outlet safety
- Lighting around charging area
- Backup power planning
- Load management
- Home energy monitoring
A home EV charger works best when it is part of a complete electrical plan.
Prevention: How to Protect Your EV Charger Long Term
After installation, the goal is to keep the charger safe and reliable.
Maintenance and Prevention Checklist
- Keep the charging cable off the floor when not in use
- Inspect the cable for cuts or damage
- Do not use the charger if the plug feels hot
- Keep outdoor chargers protected from direct water exposure where possible
- Follow manufacturer cleaning instructions
- Keep the area around the charger clear
- Use the charger app to monitor errors
- Schedule an inspection if breakers trip
- Install surge protection where appropriate
- Avoid using adapters not approved by the manufacturer
- Keep Wi-Fi stable for smart chargers
- Call an electrician if charging speed suddenly changes
A charger should operate smoothly. Repeated faults or heat are signs that the system should be inspected.
EV Charger Installation Checklist for Homeowners
Use this checklist before starting your project.
| Question | Yes / No |
|---|---|
| Do you know your vehicle’s charging requirements? | |
| Do you know your daily driving range? | |
| Have you chosen Level 1 or Level 2 charging? | |
| Has your electrical panel been inspected? | |
| Is there enough panel capacity? | |
| Do you need a panel upgrade? | |
| Have you chosen plug-in or hardwired installation? | |
| Is the charger location close to the parking space? | |
| Is the charger location close to the electrical panel? | |
| Will the charger be installed indoors or outdoors? | |
| Is weather protection needed? | |
| Are permits required? | |
| Is surge protection recommended? | |
| Has a licensed electrician reviewed the setup? |
This checklist helps make the project smoother and safer.
When to Call an Electrician
You should contact a licensed electrician before installing a Level 2 EV charger, especially if the project involves new wiring, panel work, outdoor installation, or a dedicated circuit.
Call a professional if:
- You want Level 2 charging
- Your panel is old or full
- Breakers already trip often
- You need outdoor installation
- The charger requires hardwiring
- You are unsure about amperage
- You need a permit
- You want a charger far from the panel
- You are installing more than one EV charger
- You want surge protection
- You want future-ready electrical planning
A safe installation protects your vehicle, home, and electrical system.
Conclusion
This EV charger installation guide for homeowners shows that home charging is more than plugging in a vehicle. A safe installation requires the right charger type, panel capacity, dedicated circuit, breaker sizing, wiring, location planning, code compliance, and professional testing. When installed correctly, an EV charger can improve daily convenience, support faster charging, reduce reliance on public stations, and transform the way you power your vehicle at home.
If you are ready to install a home EV charger, contact Airco Mechanical today. Airco Mechanical can inspect your electrical system, recommend the right charger setup, and provide safe residential EV charger installation designed for long-term reliability.
FAQs
1. Do I need an electrician to install an EV charger?
Yes, especially for Level 2 chargers. They usually require a dedicated 240-volt circuit and proper panel capacity.
2. Is Level 2 charging better than Level 1?
For most daily EV drivers, yes. Level 2 charging is much faster and more convenient for regular home charging.
3. Can my electrical panel handle an EV charger?
It depends on your panel capacity, existing loads, and charger amperage. An electrician should inspect it first.
4. Should I choose plug-in or hardwired installation?
Plug-in chargers offer flexibility, while hardwired chargers are often better for permanent or outdoor installations.
5. Can I install an EV charger outside?
Yes, but the charger and electrical components must be rated for outdoor use and installed with proper weather protection.